Login: https://www.cryptx.com/
Create an API Token.
Navigate to: https://app.cryptx.com/profile/access-tokens
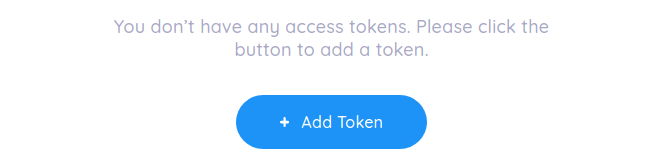
Add an access token:
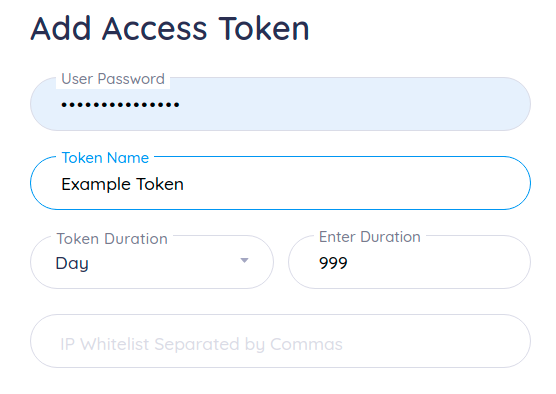
Set the token to expire as preferred:
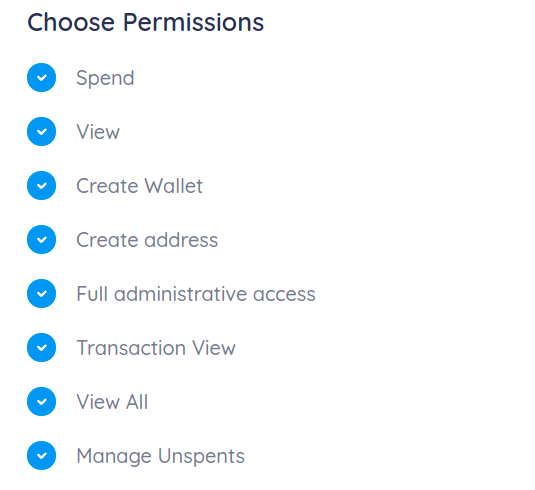
Grant all privileges to the token:
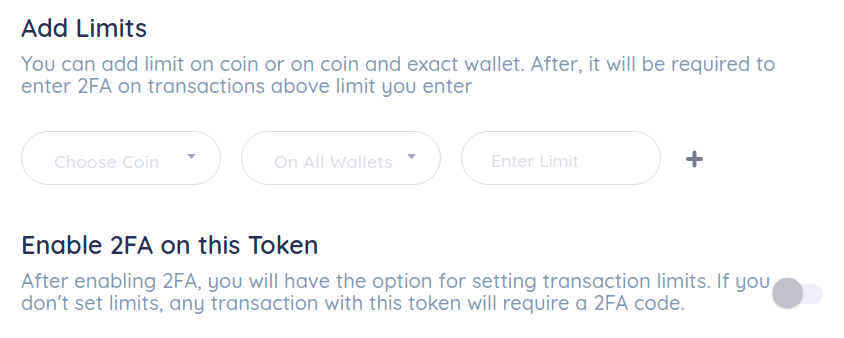
Disable 2FA for the token:
Save the generated Token:
Enter your 2FA to confirm (if needed), and be sure to save the Token:
(example Token: fff261ff0bd0e92c99b47f081b4fd694247777ce93f54b5f6e3ab2926a7ed36d)
Assemble the required CryptX parameters:
Parameters marked * are required, all others optional.
host* : port : token* : wallet_id* : passphrase : priority : max_custom_rate : max_custom_gas_limit
host*: always: https://api.cryptx.com/
port: (leave empty/blank)
token*: obtained from CryptX as described above.
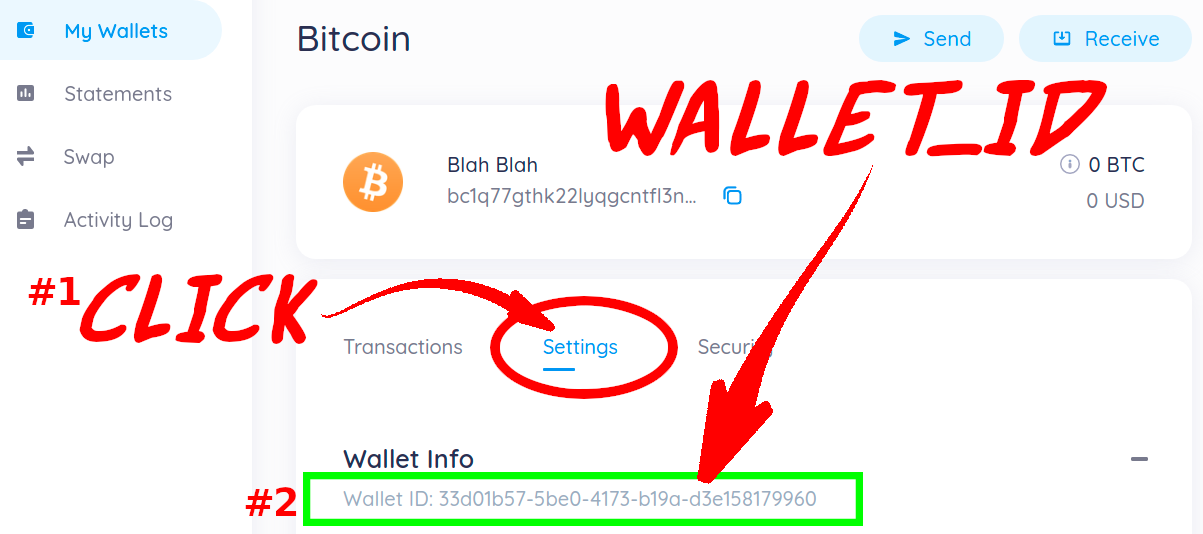
wallet_id*: the name of the wallet on CryptX, find under [Wallet] > Settings > Wallet Info > Wallet ID.
passphrase: the wallet passphrase (if used).
priority: high, medium, low, or custom.
high: (default) = 2 blocks, medium = 8, low = 24
custom - also indicate the number of required blocks (e.g. custom:12)
max_custom_fee: the maximum fee (in s/vByte) when "custom" priority is used
max_custom_gas_limit: the maximum ETH (only) gas limit (e.g. 50000)
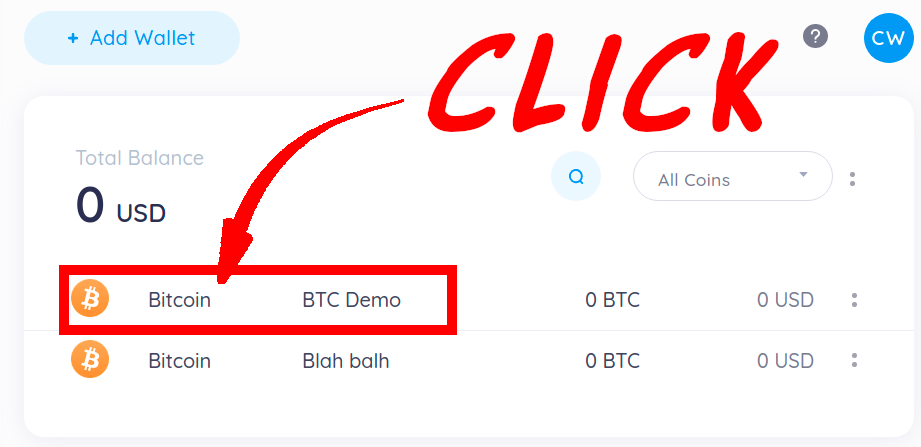
Select your wallet:
Locate your WALLET_ID in the wallet Settings:
Example parameter string:
https://api.cryptx.com/::fff261ff0bd0e92c99b47f081b4fd694247777ce93f54b5f6e3ab2926a7ed36d:48332cd2-2e00-49e9-9cc5-057f24b3c1c8:custom:12:120:50000
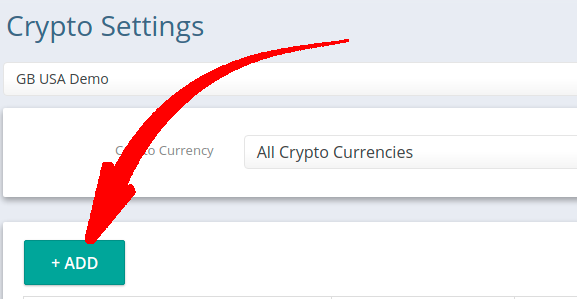
Add a new Crypto Setting in CAS.
Select CryptX as a Hot Wallet.
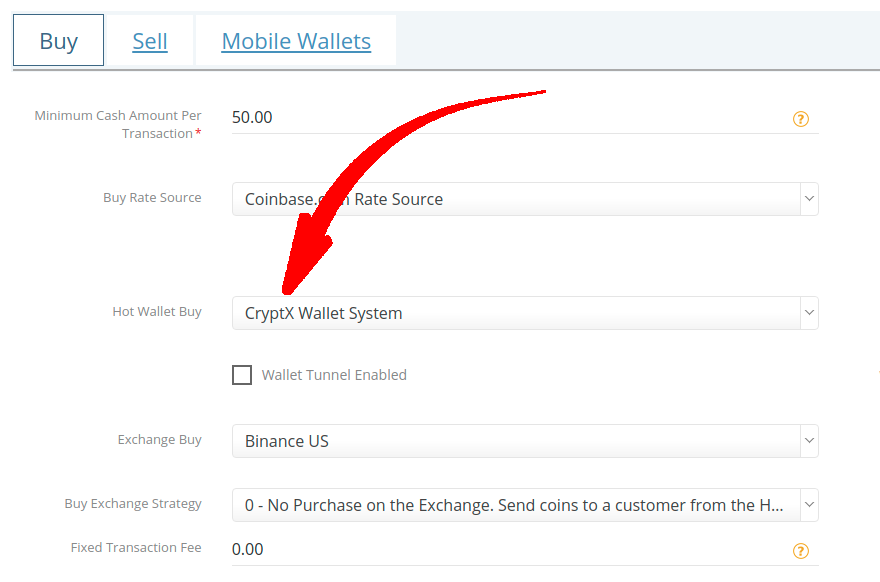
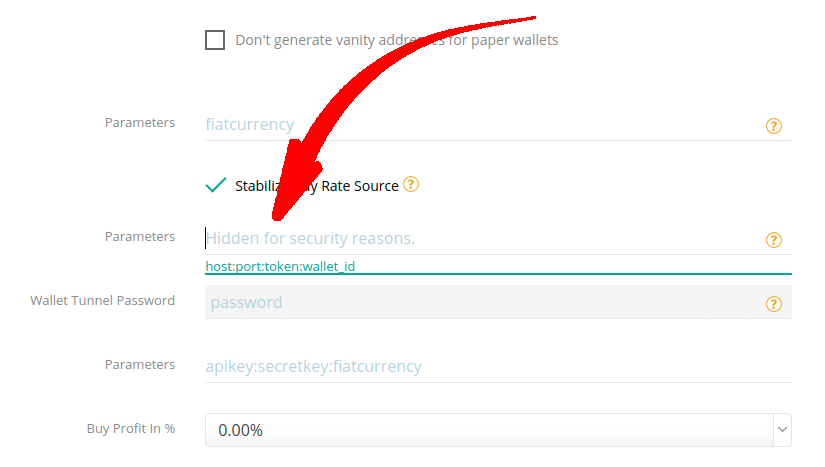
Enter the Parameters as assembled previously.
Save the Crypto Setting:

Re-enter the Crypto Setting, and test it:
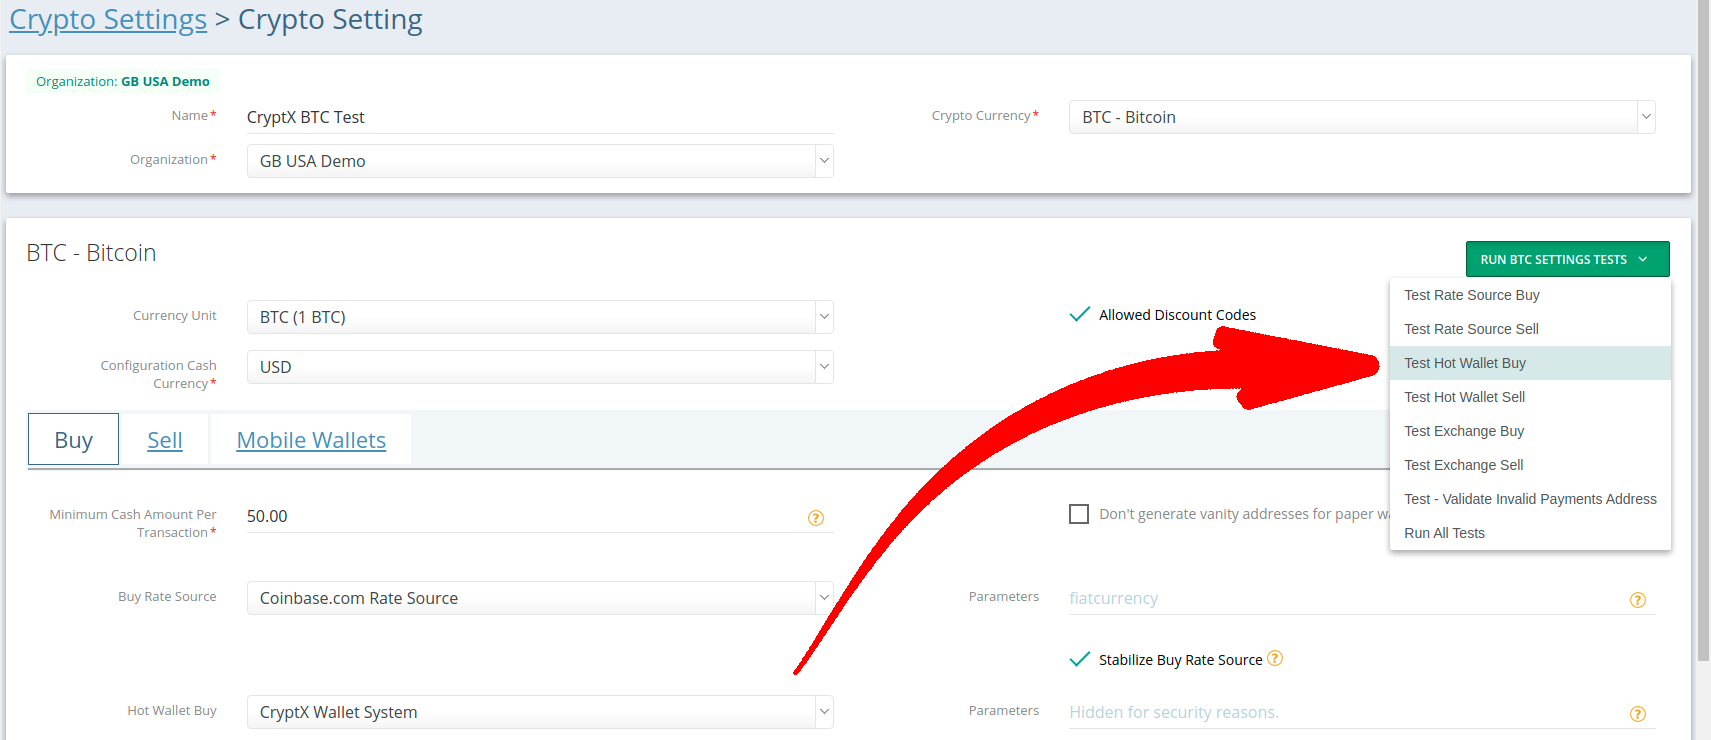
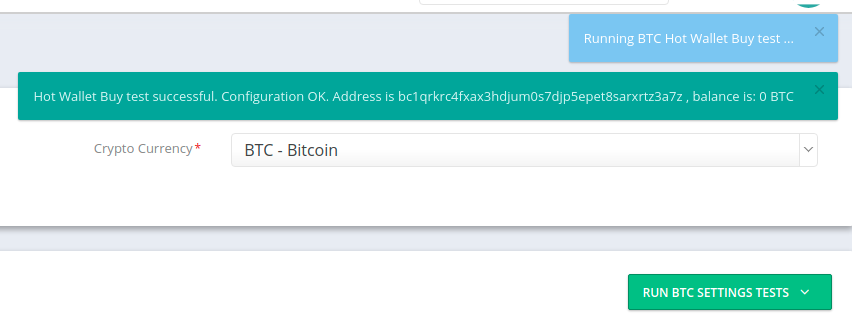
If everything is setup correctly, the test should pass:
Secure it:
After verifying that your API Token works as expected, we encourage you to increase security.
Add your CAS server IP to the API IP whitelist, if desired (you may also leave it blank).
Set limits.
You’ll have to create a new Token on CryptX to implement these features.
DO NOT enable 2FA for the Token.